Space Admin
Access the admin settings of any space by visiting your list of spaces: app.spacecommz.io/spaces

Clicking the “Admin” button next to any space will bring you to the admin settings.
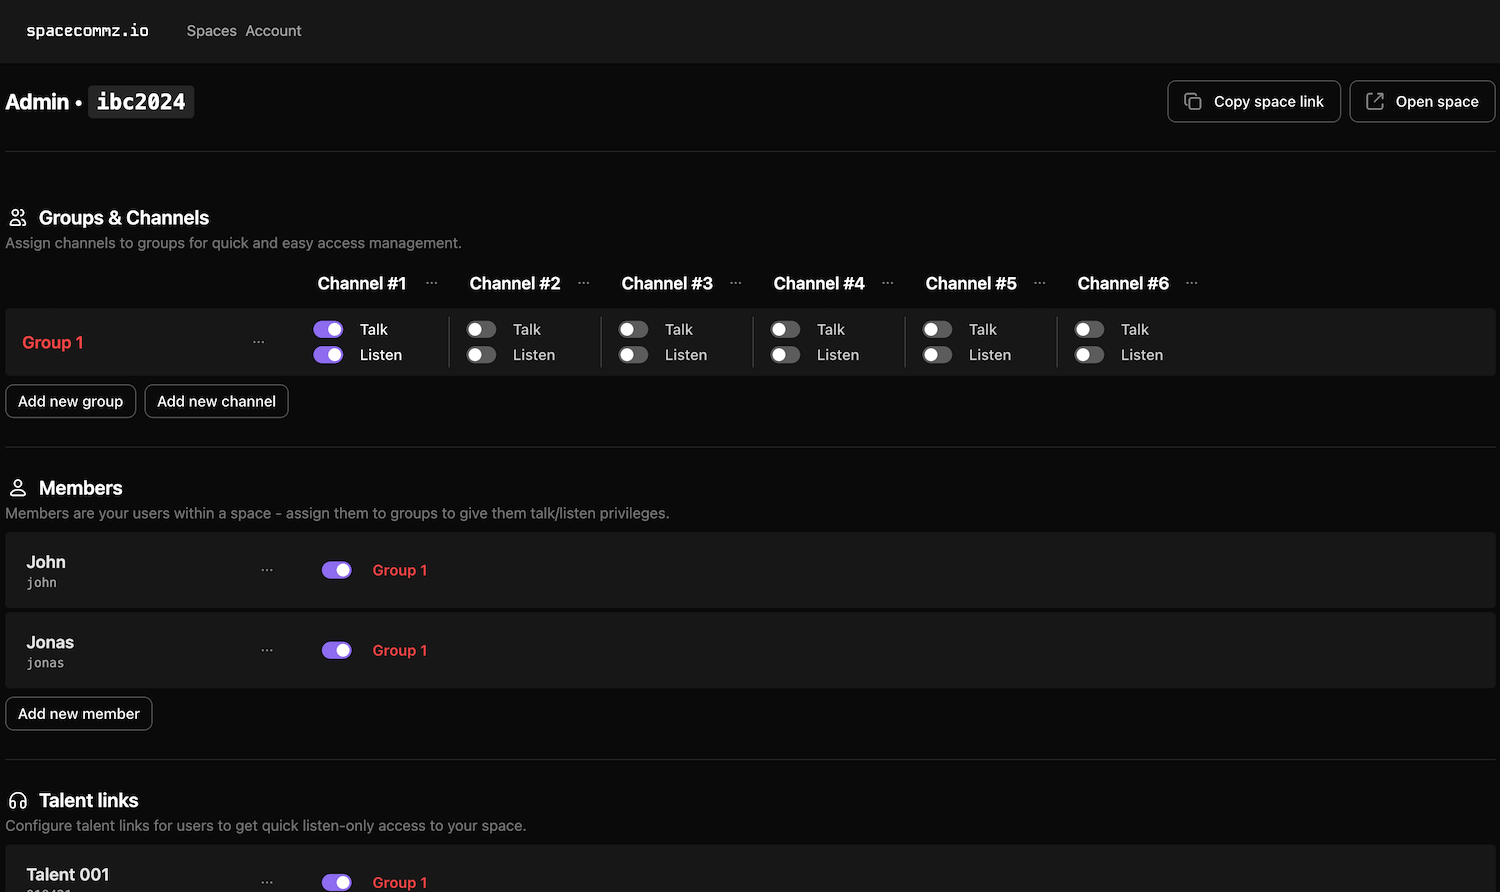
Within the admin settings you can add/remove
- Channels: These are where members will communicate with each other.
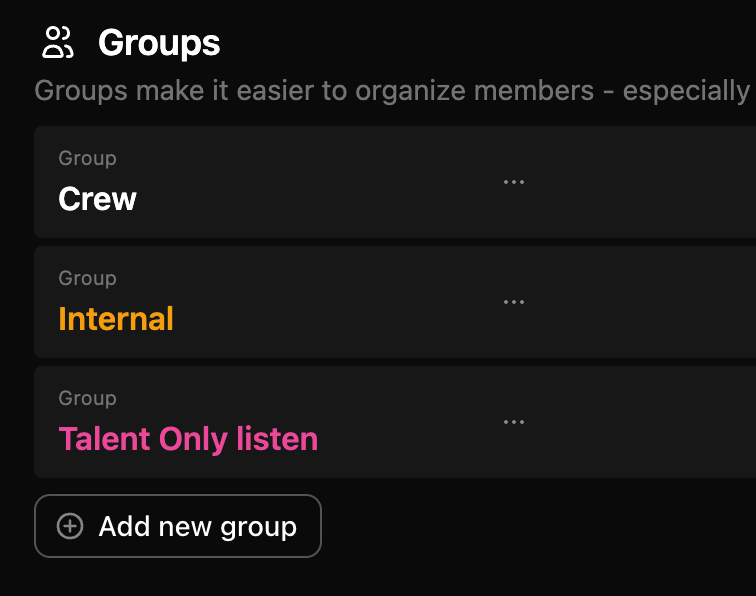
- Groups: Groups allow you to collect members into a collection - this makes building complex relationships a little quicker.
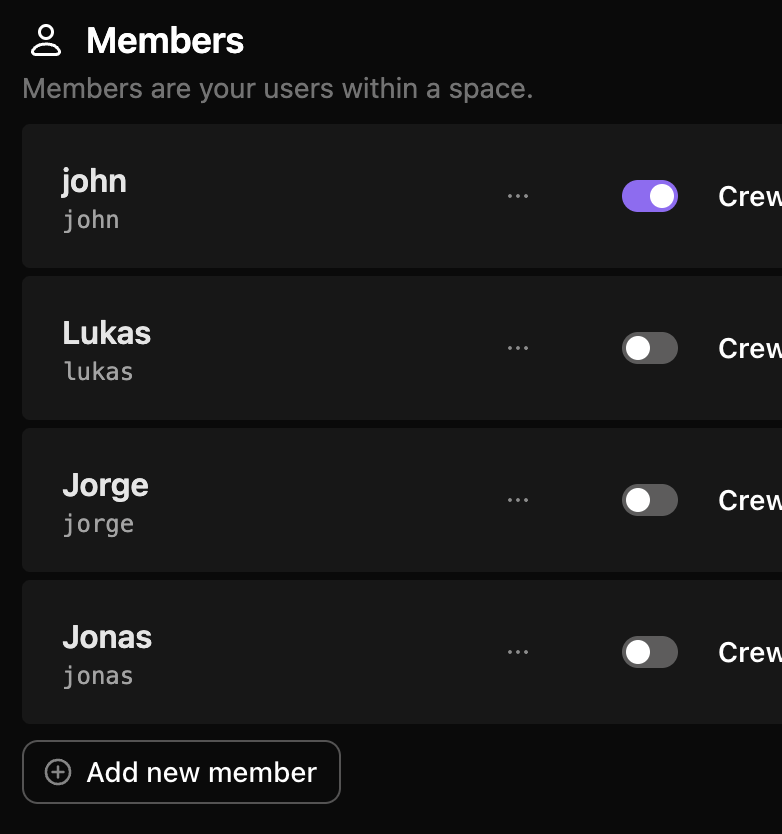
- Members: These are the people you will invite into your space.
- Talent links: These are listen-only links you can share with talent outside of your team.
Typical workflow
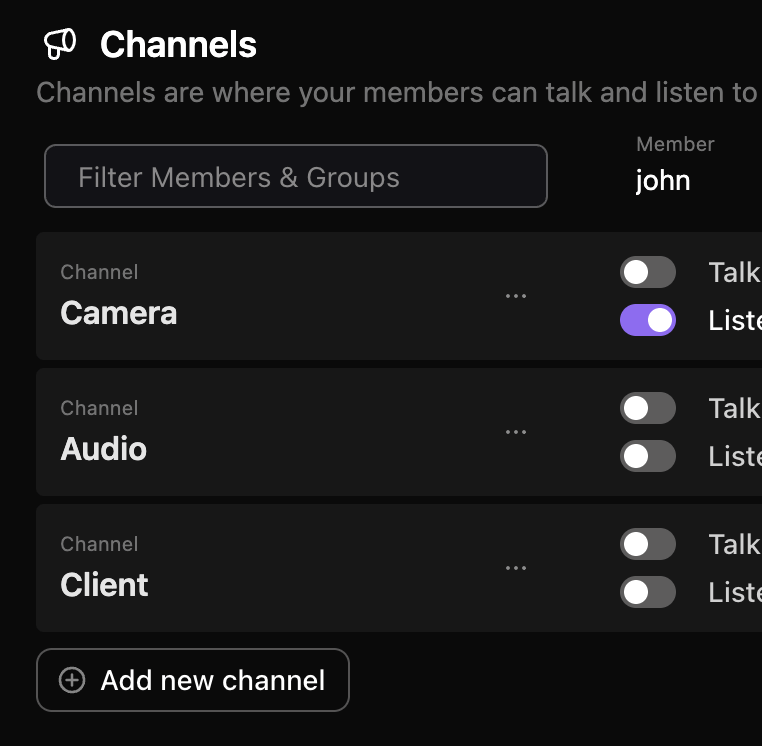
1. Add Channels
Add channels to your space - there are the main intercom communication channels where your members will speak and listen to each other.
2. Add Members
Add all the members to your space. As you add them you will be prompted to send them their login details.
We recommend sending the users their details as you add them - this is the easiest way to ensure they all get the information they need.
3. Optional: Add Groups
It can be even easier to add groups to your space - this way you can quickly assign members to groups, and later assign groups to channels. this workflow ensure you won’t need to manually give talk/list privileges to each and every member of your space.
4. Add Members to channels
Finally, head back up to the channels section and assign talk/listen channels to each of your users.
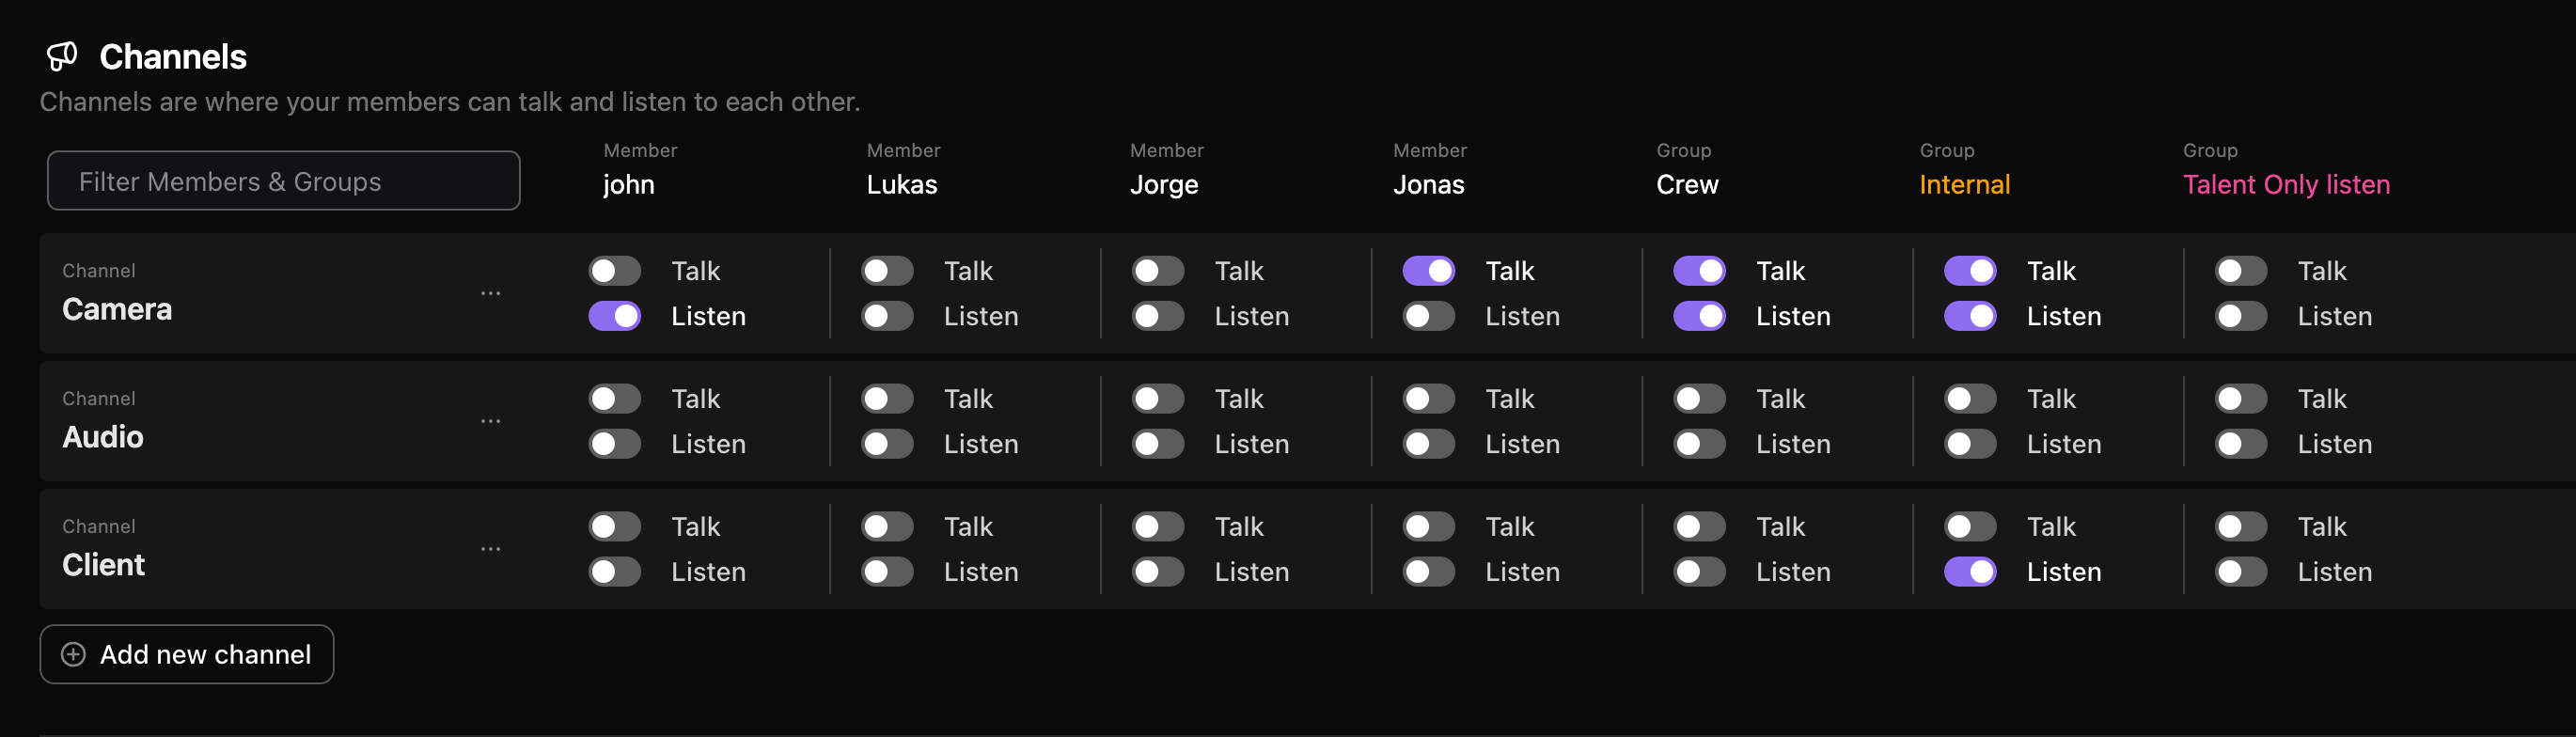
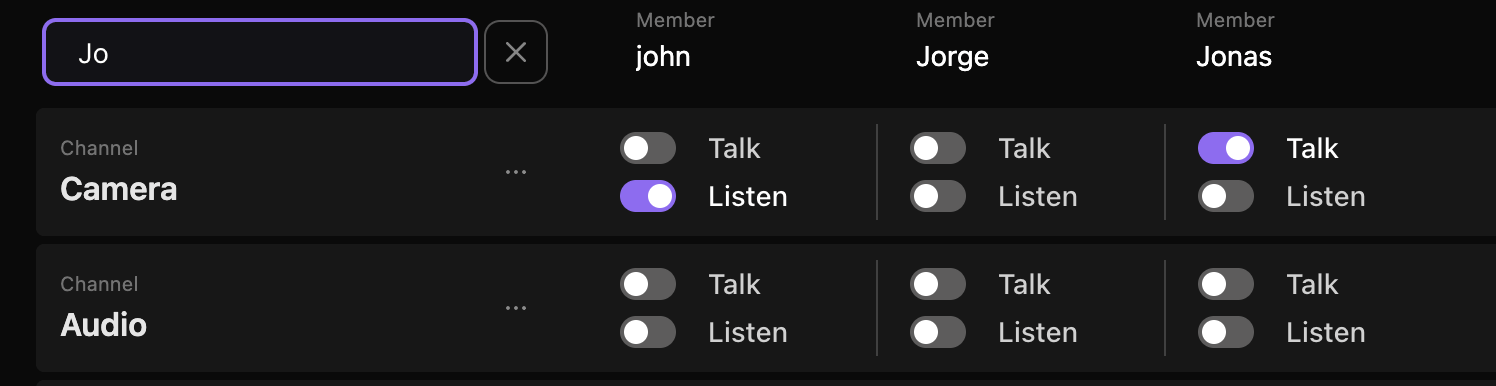
💡 Pro Tip: Use the search filter next to channels to quickly narrow down the list of all members added to your space.